Twilio is one of largest API communication provider. Allowing you to have programmatic SMS/MMS/Calls and much more. Extension plugin supports sending SMS via Twilio. But before you start using it there is couple of steps that you need to follow.
Account #
First of all you will have to create Twilio account. Once that is done next step is to get phone number which will be used for sending SMS notification. You can do that via option on main Twilio Dashboard screen :
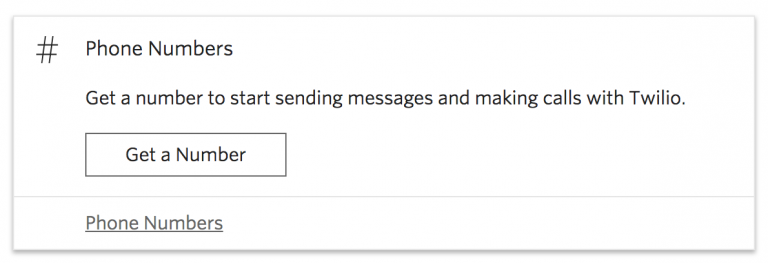
Next step is to copy that phone number to Extension Twilio settings and save it.

also you will have to select which custom field is holding the customers phone number. This is important because Extension plugin can’t find phone number if you don’t specify where it is.
Create Messaging Service #
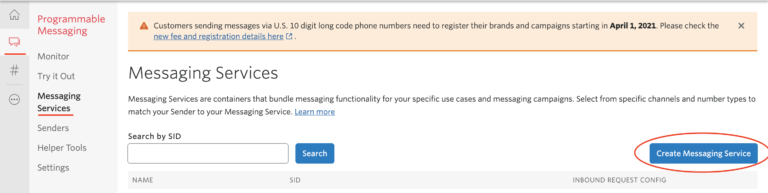
Inside Twilio Programmable Messaging sections open Messaging Services and there create a new Messaging Service with a name you want:
Messaging Service #
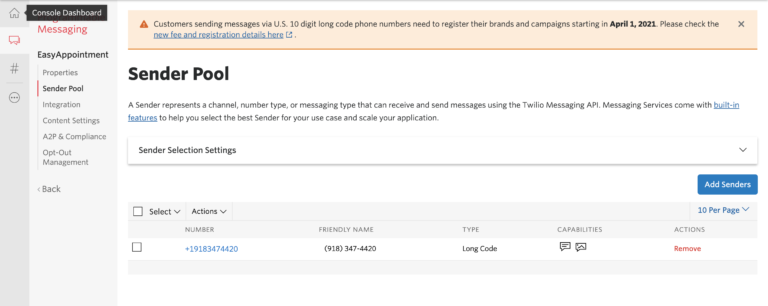
One Service is create click on it and it will open settings for that service. There under Sender Pool add Sender (phone number that you have acquired). Once that is done it will look something like this :
Last step would be to allow countries where you want to send SMS notification. Option for that is inside Programmable Messaging > Settings > Geo Permissions
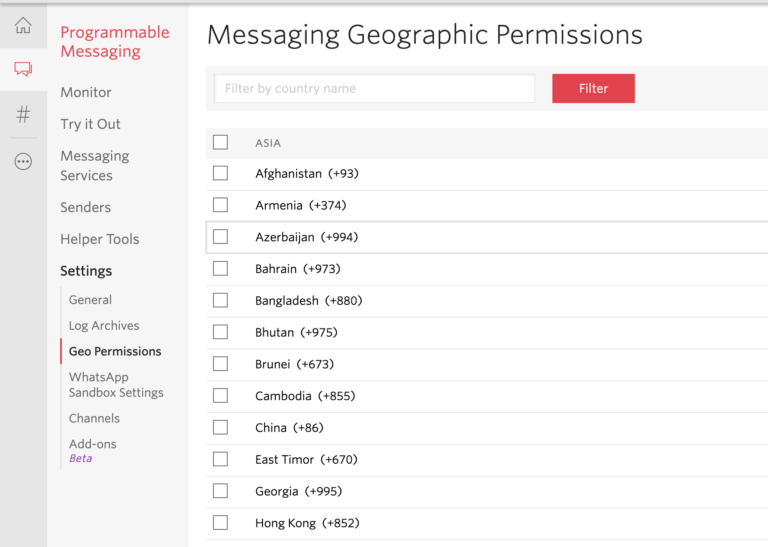
Geo Permissions #
Important thing is to remember that in Trail Twilio account you can only send SMS notifications to Verified phone numbers.
API Tokens #
Once you have selected field and added phone number to Extension next part is to add Account SID and Authtoken . You can find those inside Twilio Settings Page :
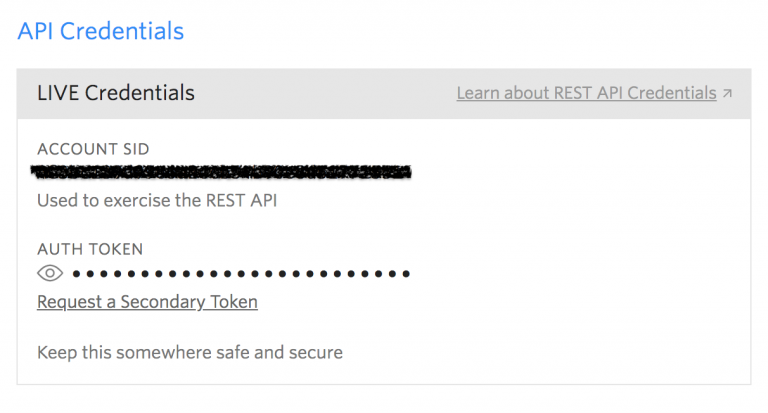
Copy/paste those values but watch for blank spaces after/before valuse and remove them if there are some.
Once that is done and settings are saved Extension plugin can send SMS notification to the customer on Appointments creation.
SMS Templates #
There are templates for each Appointment status ( Pending / Reservation / Canceled / Confirmed ). If you don’t want to use notifications for example for Reservation status just leave empty that template. Empty templated are ignored.
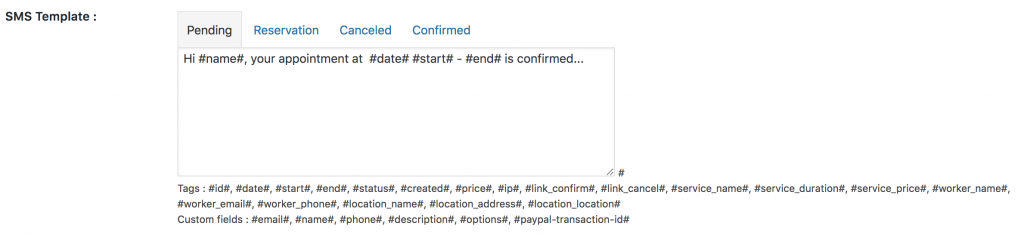
You can also send reminder SMS to customer on selected interval.